When managing your website, there often comes the need to do some custom image resizing or cropping to get just the right look in your site’s template. Modern computers all come with tools that can help, if you know where to look.
Why do I have to crop my images?
Images, either from a digital camera, stock photo library or created in a photo editing application can come in all shapes and sizes. The area for your image in your website was designed for a particular size, whether that’s a full screen background or a product thumbnail. Making sure your image fits the design is key to make sure the important part of your image or graphic remains visible.
What’s the best way to fix this?
Let’s say you have a photo with someone’s face in standard landscape orientation (wider than it is tall), and the subject isn’t centered.

The place you want to put this image on your website just happens to be a square. When your image is uploaded into that square element, we can see that the various faces doesn’t fit within the frame.

Web platforms such as WordPress will often resize, crop and web optimize images upon upload. When an image is cropped, however, this almost always defaults to cropping to center center, meaning if your subject isn’t centered, it might get cut out.
We can fix this issue by simply cropping the image before upload so that we can pick exactly what part of the image to focus on.
Here’s how to do this using software you most likely already have on your computer:
macOS Preview
The Preview app on macOS makes it easy to crop an image. For a square image, hold shift while clicking and dragging around the area you’d like to crop. You can reposition the crop by dragging the dotted lines into place.
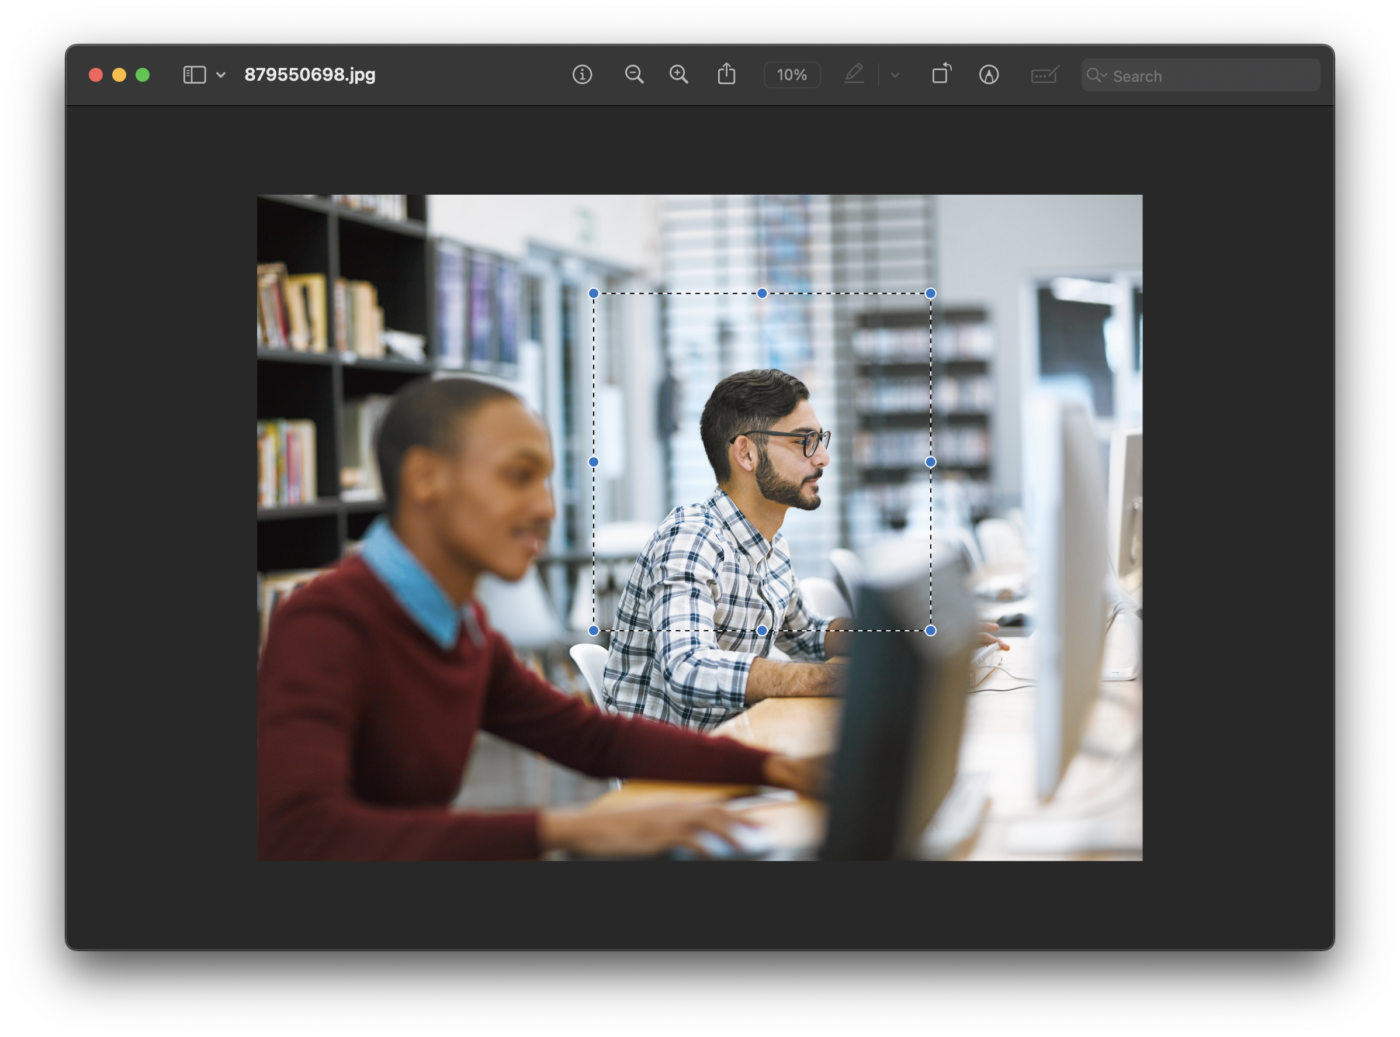
In the menu bar, select Tools > Crop, then save your square image ready for upload.
Windows Photos
In Windows 10 and 11’s Photos app, simply open the app and click the Edit icon at the top of the frame. From here you can resize and reshape the frame of the image to focus on the portion you’d like cropped.
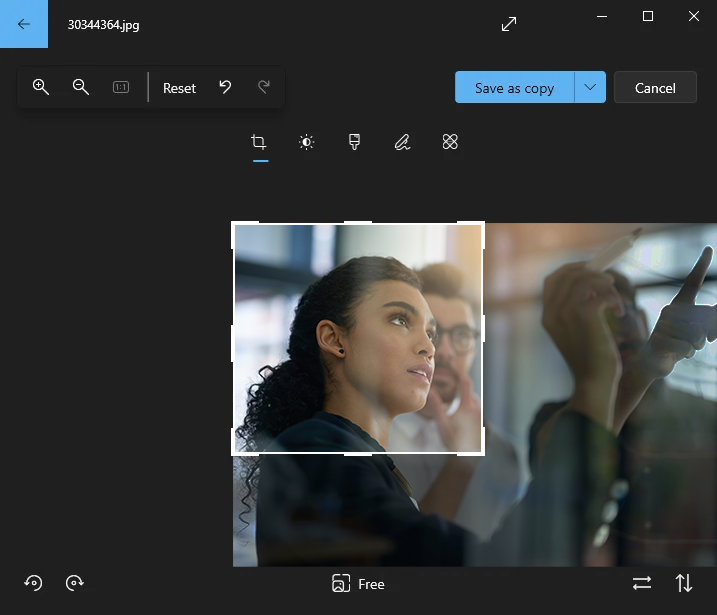
When done, select Save a Copy, give it a name and upload the image to your website.
Adobe Photoshop
If you happen to have Photoshop, a common photo editing app, you can easily crop an image selecting the Rectangular Marquee Tool and holding shift while dragging around your subject.
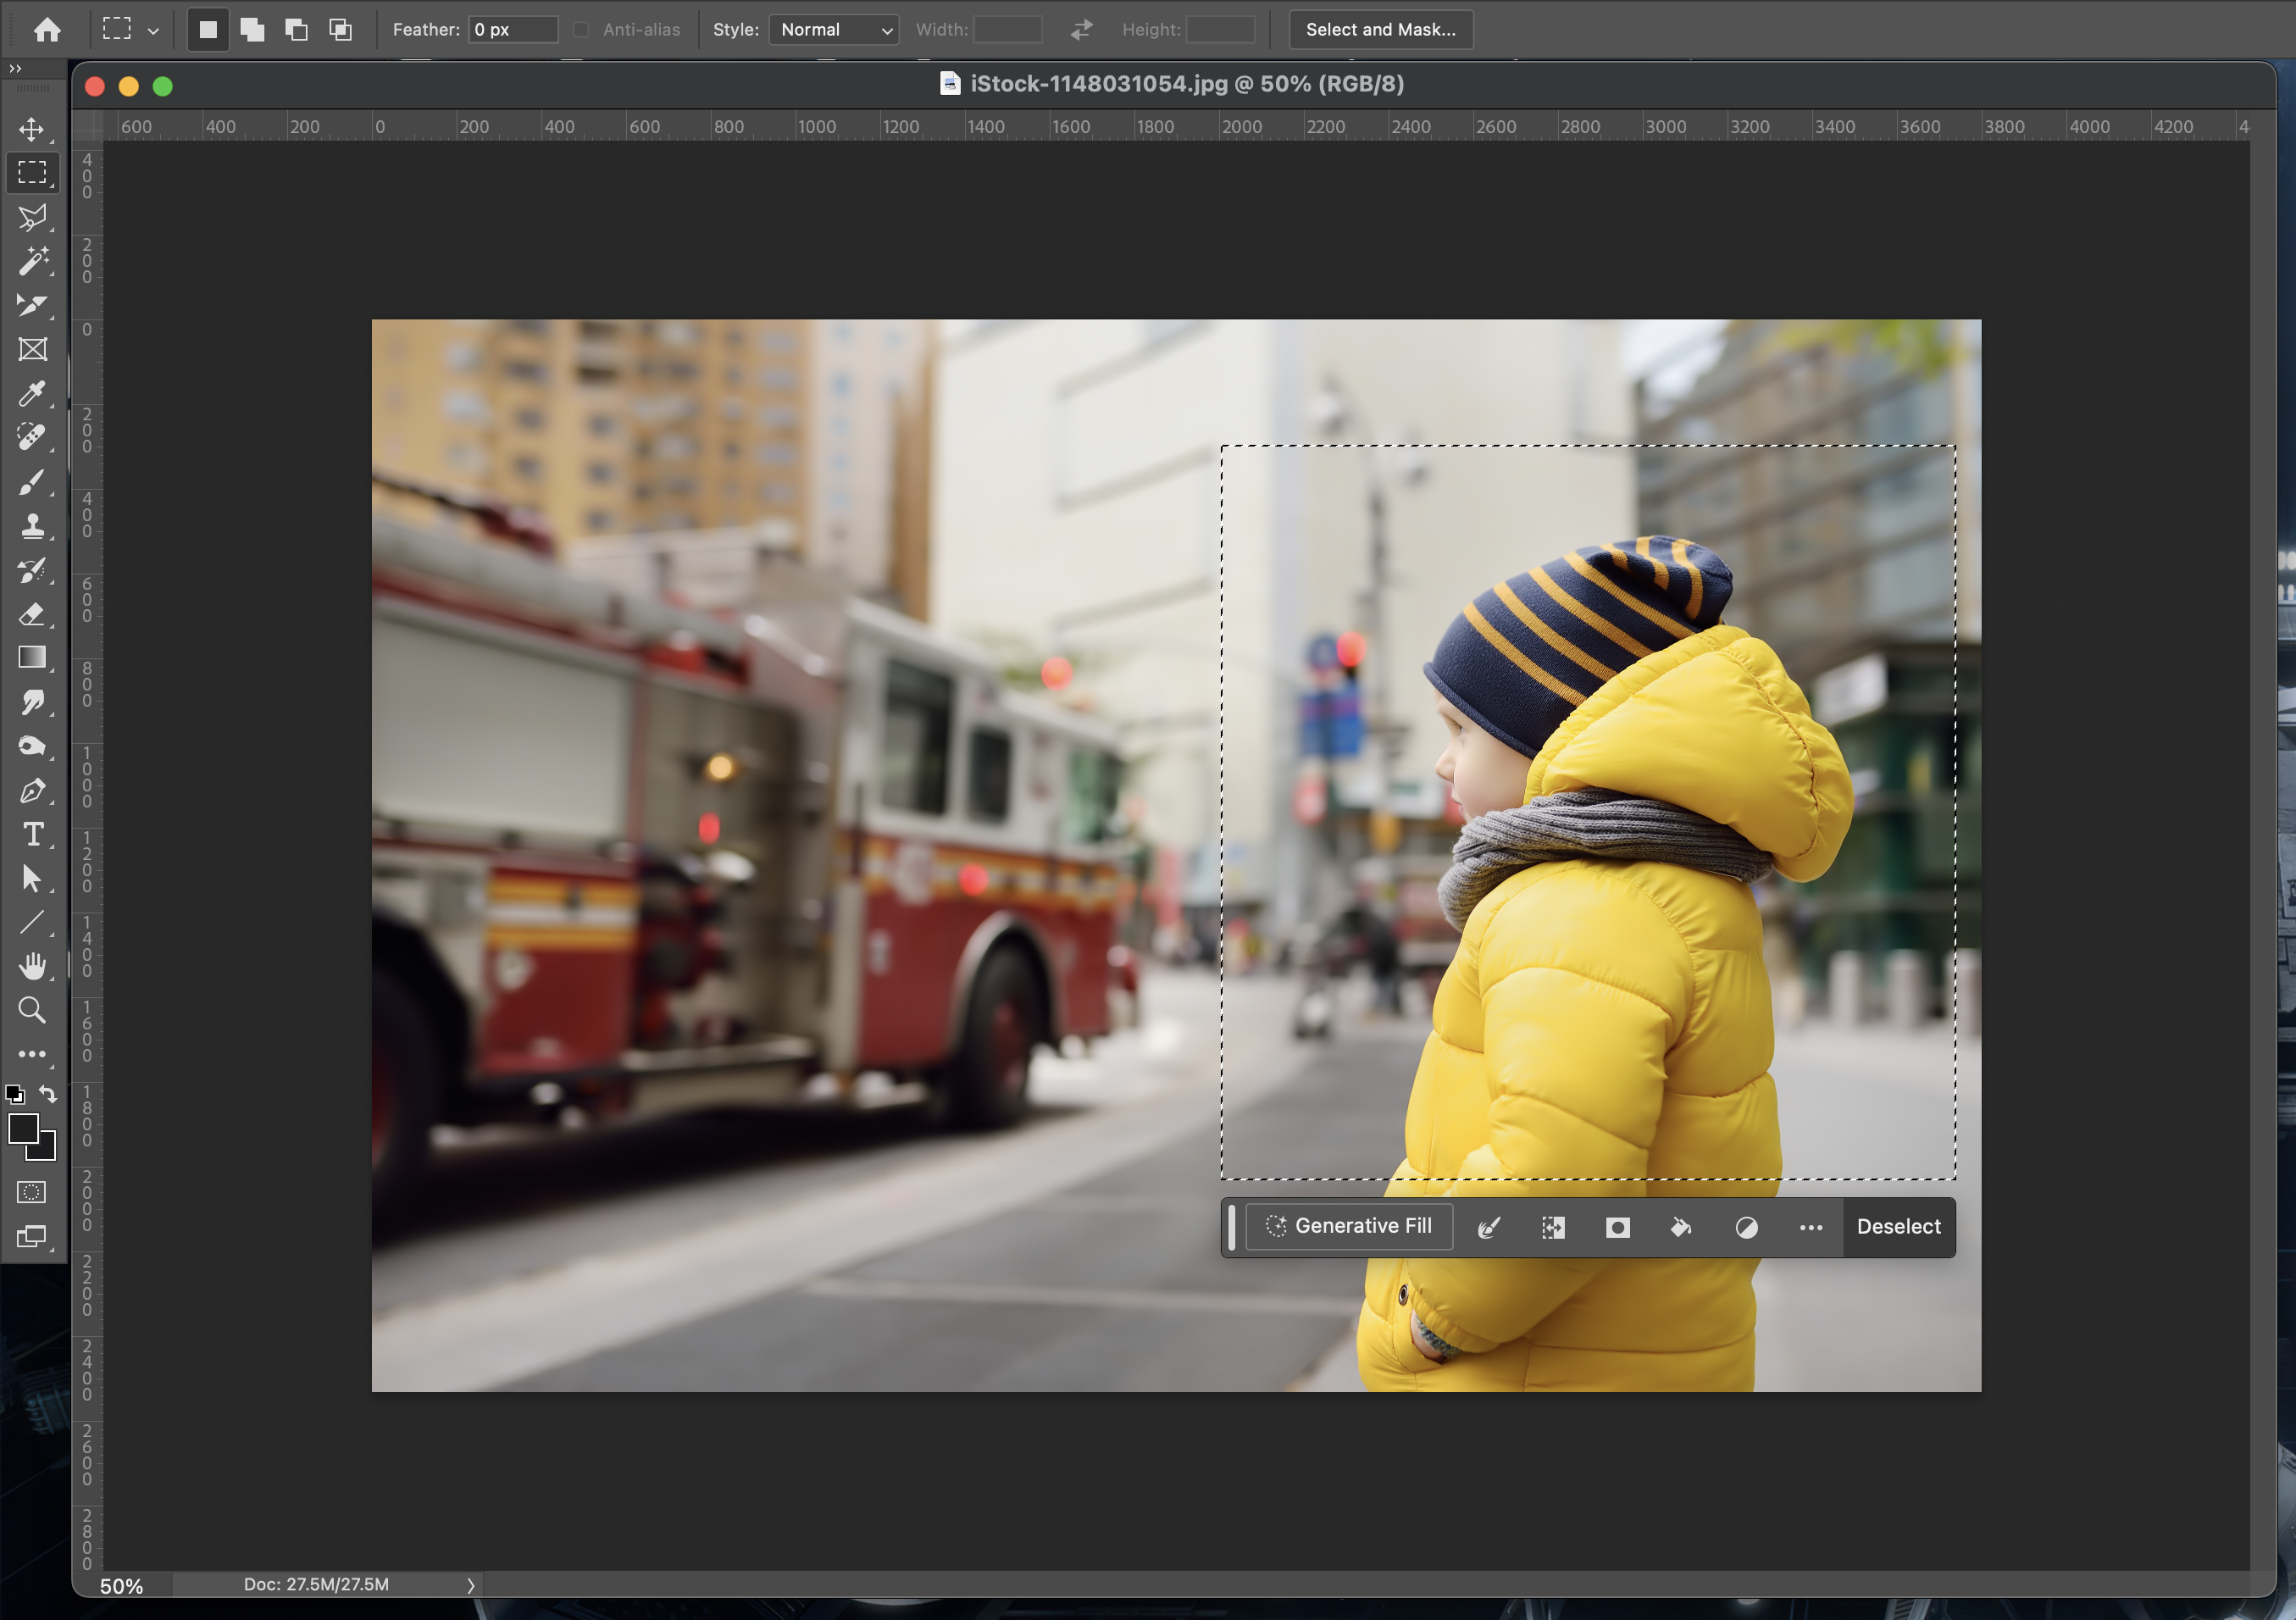
Once set, go to Image > Crop, then save your square image ready for upload.
Final Result
This looks MUCH better! After cropping your images to fit the block, you can take control over how images appear on your website making sure faces and other important subjects are visible.

Taking the time to pick the right image for each spot on your website can help make it stand out. There are many other photo editing apps that have similar resize and cropping tools available.
Share: